Your dog’s muscle mass is the biggest predictor of how well they’ll recover from a CCL injury. When a dog suffers a Cranial Cruciate Ligament (CCL) injury, pet parents naturally focus entirely on the knee joint itself—the torn ligament, the bone alignment, or the surgical hardware.
However, orthopedic surgeons and canine physical therapists look at something completely different to determine how well a dog will heal: thigh muscle mass.
Whether you choose surgery, a custom brace, or conservative management, your dog’s muscles are the ultimate shock absorbers for the joint. Here is why building and preserving muscle mass is the absolute key to a successful CCL recovery.
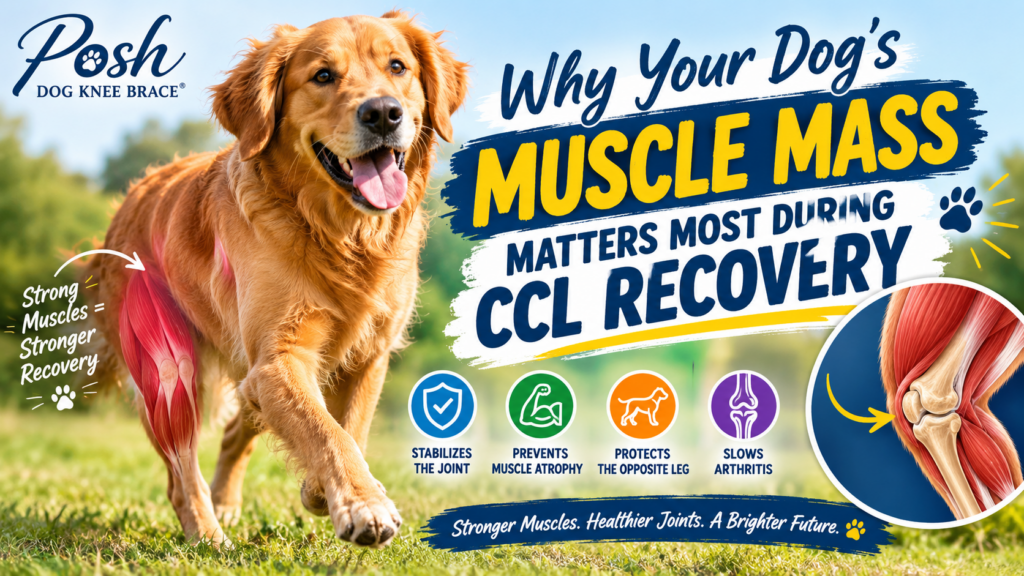
The CCL’s job is to act like a seatbelt, stopping the shinbone from sliding out from underneath the thighbone. When that ligament is damaged, the mechanical stability is lost.
This is where the quadriceps and hamstring muscles come to the rescue. When these powerful leg muscles are thick, strong, and well-conditioned, they act as an active, living brace around the knee. Strong muscles contract to clamp the joint in place, severely reducing the painful grinding (tibial thrust) that happens every time your dog takes a step.
The moment a dog injures their knee, they naturally stop putting full weight on it. Within just two to three weeks of favoring a leg, rapid muscle wasting (atrophy) begins.
This creates a dangerous downward spiral:
Breaking this cycle early by safely engaging the muscles is crucial for your dog’s long-term mobility.
As mentioned in previous articles, up to 60% of dogs will tear the CCL in their opposite leg within a year or two of the first injury.
Why? Because when a dog loses muscle mass and function in the injured hind leg, they aggressively shift their body weight forward and onto the opposite good knee. If you can preserve and rebuild the muscle mass in the injured leg quickly, your dog will return to a balanced, symmetrical gait much faster, saving the remaining healthy knee from catastrophic overload.
Every dog with a CCL injury will experience some degree of arthritis. However, dogs with excellent muscle mass experience significantly slower arthritis progression. Strong muscles absorb the concussive shock of walking and running. If the muscles are weak, that raw, heavy impact forces its way directly into the bone surfaces and cartilage, accelerating joint wear, inflammation, and chronic pain.
You cannot simply take a recovering dog out for a run to build muscle; high-impact twisting and sprinting will ruin their recovery. Muscle building post-CCL injury must be low-impact and controlled:
Utilize a Custom Rigid Brace: If you are navigating recovery without surgery, a custom device like the Posh Dog Knee Brace holds the bones in alignment, giving your dog the immediate confidence to stand squarely on the leg. This weight-bearing allows them to build active muscle mass during daily walks instead of letting the leg waste away.
The Bottom Line: A knee joint is only as strong as the engine driving it. By focusing heavily on preserving and rebuilding your dog’s thigh muscle mass through targeted, safe exercises, you aren’t just healing a ligament — you are bulletproofing their entire lower body against future injury. Come visit us on Facebook too, where we share daily recovery tips and success stories from dogs just like yours: facebook.com/poshdogkneebrace
Articles from the Posh Dog Knee Brace team — a group effort with our licensed veterinary technicians and brace specialists, sharing 15+ years of experience helping dogs recover from CCL/ACL injuries and mobility challenges.
If your dog slips and slides on hardwood, tile, laminate, or other smooth flooring, you may have heard about toe grips for dogs. These small rubber grips are designed to fit over a dog’s toenails and provide additional traction when their paws come into contact with slippery surfaces.
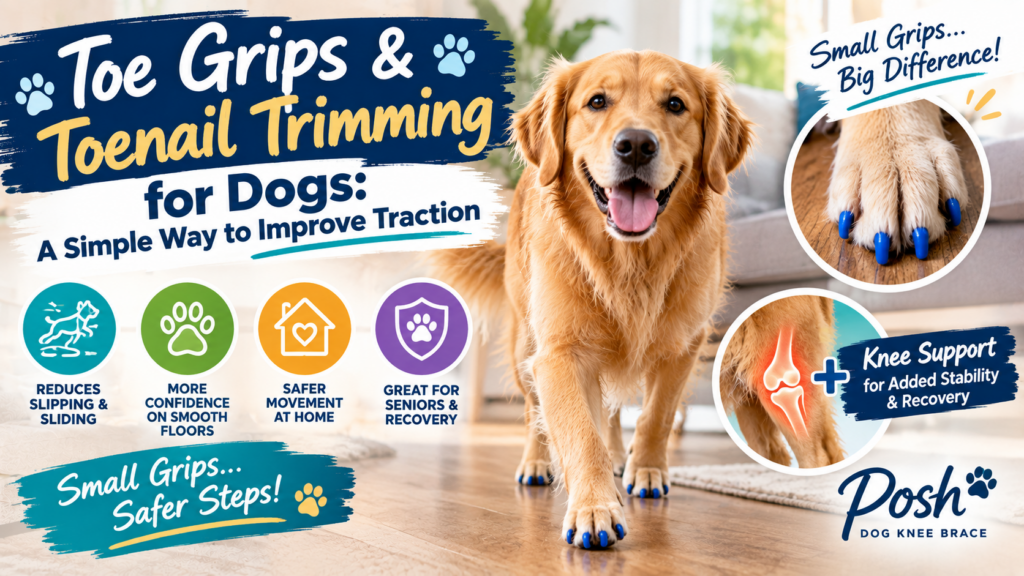
Toe grips are small, flexible rubber or silicone-like pieces that slide over a dog’s toenails. Unlike traditional dog boots, they don’t cover the entire paw. Their purpose is to give the nails more grip against the floor, helping reduce slipping.
Because they are lightweight and relatively unobtrusive, many dogs can wear them without the bulk associated with shoes or booties. They are available in different sizes, so choosing the correct size for your dog’s nails is important.
Dogs naturally rely on their paw pads and nails for traction. On grass, dirt, carpet, and other textured surfaces, this usually isn’t a problem. Smooth indoor flooring, however, can be much more difficult to navigate.
When a dog walks across a slippery floor, their nails may slide instead of helping them maintain traction. Toe grips can provide another point of contact with the flooring.
Better traction may help your dog:
Toe grips can be particularly useful for senior dogs, dogs with reduced strength or mobility, and dogs recovering from orthopedic injuries. Some dogs naturally become less stable as they age, while others may have difficulty controlling their legs because of weakness or changes in mobility.
They may also be helpful for dogs recovering from an ACL/CCL injury. A dog favoring one rear leg may already be putting more weight on the opposite leg. Frequent slipping can make movement even more difficult.
However, toe grips should be considered a traction aid, not a treatment for an underlying orthopedic condition.
For a dog recovering from an ACL/CCL injury, creating a safer environment is an important part of recovery. Adding rugs or runners to slippery areas, limiting uncontrolled activity, following your veterinarian’s rehabilitation recommendations, and improving traction can all help.
For dogs that need additional knee stability, a properly fitted Posh Dog Knee Brace can provide orthopedic support while the dog walks and participates in controlled activities.
Toe grips and a knee brace serve different purposes. Toe grips primarily help with traction, while a knee brace is designed to provide support and stability to the injured knee.
Proper fit is important. Toe grips should be appropriately sized for your dog’s nails and should not be excessively tight or uncomfortable. Follow the manufacturer’s instructions for application and check your dog’s nails and toes regularly.
If your dog repeatedly tries to remove the grips, seems uncomfortable, develops irritation, or has difficulty walking while wearing them, remove them and speak with your veterinarian or a qualified professional.
Occasional slipping on a slick floor may simply be a traction issue. But if your dog suddenly starts slipping, struggles to stand, frequently falls, limps, or avoids putting weight on a leg, there may be an underlying medical or orthopedic problem.
Toe grips can be a useful tool for improving traction, but they aren’t a substitute for veterinary evaluation when a dog is experiencing pain, weakness, or mobility changes.
For dogs dealing with knee instability or an ACL/CCL injury, combining better traction with appropriate veterinary care and orthopedic support can help create a safer environment for recovery and everyday movement.
If you’d like more information about our Posh Dog Knee Brace, visit us on Facebook or contact us via our contact form.
Articles from the Posh Dog Knee Brace team — a group effort with our licensed veterinary technicians and brace specialists, sharing 15+ years of experience helping dogs recover from CCL/ACL injuries and mobility challenges.
When your dog is recovering from an injury, surgery, arthritis, or another mobility issue, physical therapy can play an important role in helping them regain strength, balance, and confidence.
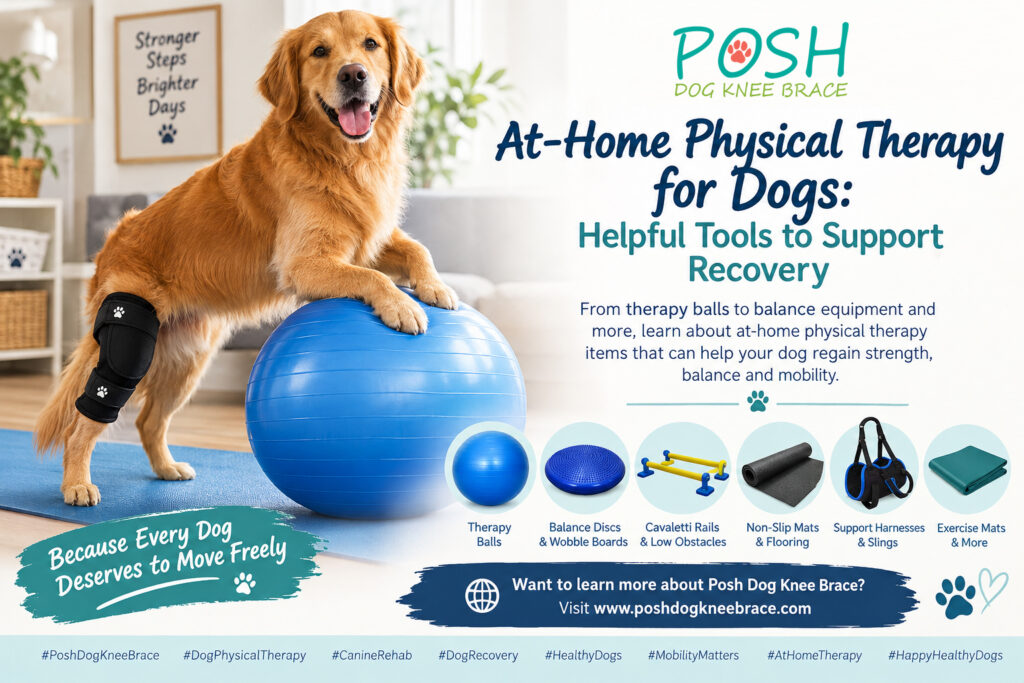
While your veterinarian or canine physical therapist should guide your dog’s specific rehabilitation plan, there are several at-home physical therapy tools for dogs that can make it easier to incorporate safe, gentle exercises into your dog’s daily routine.
From therapy balls to balance equipment, these products can help turn part of your home into a comfortable rehabilitation space.
Dogs recovering from knee injuries, ligament problems, arthritis, or other orthopedic conditions may experience muscle weakness and reduced range of motion.
After a period of reduced activity, the muscles supporting the affected leg can become weaker. Gentle, controlled exercises may help support:
The key is to start slowly and follow the exercise recommendations provided by your veterinarian or canine rehabilitation professional.
One of the most popular pieces of home rehabilitation equipment is a dog physical therapy ball, sometimes called a canine exercise ball or balance ball.
These large, sturdy exercise balls can be used for carefully supervised balance and strengthening exercises. Depending on your dog’s condition and rehabilitation plan, exercises may involve standing with the front or rear legs supported on the ball or performing controlled weight-shifting movements.
A therapy ball may help challenge your dog’s:
Because dogs can easily lose their balance, safety is extremely important. Always use an appropriately sized, durable ball on a non-slip surface and stay right beside your dog during exercises.
If your dog has recently had surgery or has a significant injury, ask your veterinarian or rehabilitation therapist when this type of exercise is appropriate.
Balance discs and canine wobble boards are another option for dogs working on stability and body awareness.
These tools create an unstable surface that encourages a dog to engage their muscles to maintain balance. A rehabilitation professional can show you exercises that are appropriate for your dog’s current ability.
Balance equipment can be particularly useful as your dog progresses through rehabilitation, but it isn’t necessarily appropriate during every stage of recovery.
Cavaletti exercises use low rails or obstacles that a dog carefully steps over.
These exercises can encourage controlled movement and help your dog become more aware of where they are placing their feet.
You don’t necessarily need expensive equipment to get started. With guidance from your dog’s rehabilitation professional, appropriately positioned low obstacles can sometimes be incorporated into a home exercise routine.
The goal should be slow, controlled movement — not jumping or rushing.
One of the simplest and most useful things you can add to your home is something many people overlook: secure footing.
Hardwood, tile, and other slippery surfaces can be challenging for dogs with weak legs or mobility problems. Non-slip rugs, rubber-backed mats, or other stable flooring can help give your dog more confidence when walking around the house.
Consider placing non-slip surfaces in areas where your dog frequently gets up, lies down, eats, drinks, or walks.
A properly designed support harness or sling can help provide assistance when your dog needs help standing, walking, or navigating certain areas of the home.
These products can be particularly useful for dogs that are temporarily weak after surgery or an injury.
However, support equipment should be used correctly. Your veterinarian or rehabilitation professional can demonstrate how to support your dog without placing unnecessary stress on an injured limb.
A thick, supportive exercise mat can provide a comfortable and stable surface for rehabilitation exercises.
Look for a mat that provides good traction and doesn’t slide across the floor when your dog moves.
A dedicated exercise area can also help make rehabilitation part of your dog’s daily routine.
Depending on your dog’s condition, your veterinary rehabilitation professional may recommend gentle massage or passive range-of-motion exercises.
Some pet owners use massage tools or their hands to help with relaxation and muscle comfort.
It’s important to learn the proper techniques before working around an injured or recently operated area. Never force a joint through a movement or continue an exercise that causes your dog pain.
While physical therapy products can be helpful, rehabilitation is about much more than having the right equipment.
Your dog’s recovery may also involve:
Every dog is different, and the right rehabilitation program depends on the underlying condition, age, size, activity level, and stage of recovery.
For dogs dealing with knee instability or certain orthopedic conditions, a properly fitted knee brace may be another option to discuss with your veterinarian.
A canine knee brace can provide external support while your dog is moving and participating in appropriate activities. Depending on the individual dog and condition, a brace may be incorporated into a broader mobility and rehabilitation plan.
At Posh Dog Knee Brace, we focus on custom dog knee braces designed to provide support for dogs experiencing knee-related mobility challenges.
A knee brace is not a replacement for veterinary care or a rehabilitation program. Instead, it can be one part of a comprehensive approach to helping your dog stay mobile and supported.
You don’t need to turn your entire house into a physical therapy clinic.
Start by creating a small, safe area where your dog can perform approved exercises without slipping or getting distracted. Keep frequently used items nearby, and make sure the area is free from furniture or objects your dog could bump into.
Most importantly, follow the exercise plan provided by your dog’s veterinarian or canine rehabilitation professional.
More exercise isn’t always better. Recovery is about performing the right exercises at the right time and gradually progressing as your dog becomes stronger.
Recovering from an injury can be a long process, but small, consistent efforts can make a big difference in your dog’s daily mobility and quality of life.
Physical therapy balls, balance equipment, non-slip mats, support harnesses, and other rehabilitation products can be useful tools for an appropriate at-home exercise program.
And if your dog is struggling with knee instability, a custom knee brace may be another option worth discussing with your veterinary care team.
If you’re looking for more information about how a Posh Dog Knee Brace may fit into your dog’s mobility and rehabilitation plan, we’d love to help.
Visit www.PoshDogKneeBrace.com to learn more about Posh Dog Knee Brace and get more information about custom knee brace options for your dog, or check us out on Facebook. Your dog’s journey to better mobility starts with the right support, the right plan, and plenty of patience.
Articles from the Posh Dog Knee Brace team — a group effort with our licensed veterinary technicians and brace specialists, sharing 15+ years of experience helping dogs recover from CCL/ACL injuries and mobility challenges.
Dogs may not be able to tell us how they feel with words, but they communicate constantly through their body language, facial expressions, and behavior. Learning to recognize these signals can help you understand your dog better and strengthen the special bond you share.
So, how do you know when your dog is truly happy?
While every dog has their own personality, there are several common signs of happiness in dogs that can help you recognize when your furry friend is feeling comfortable, content, and loved.
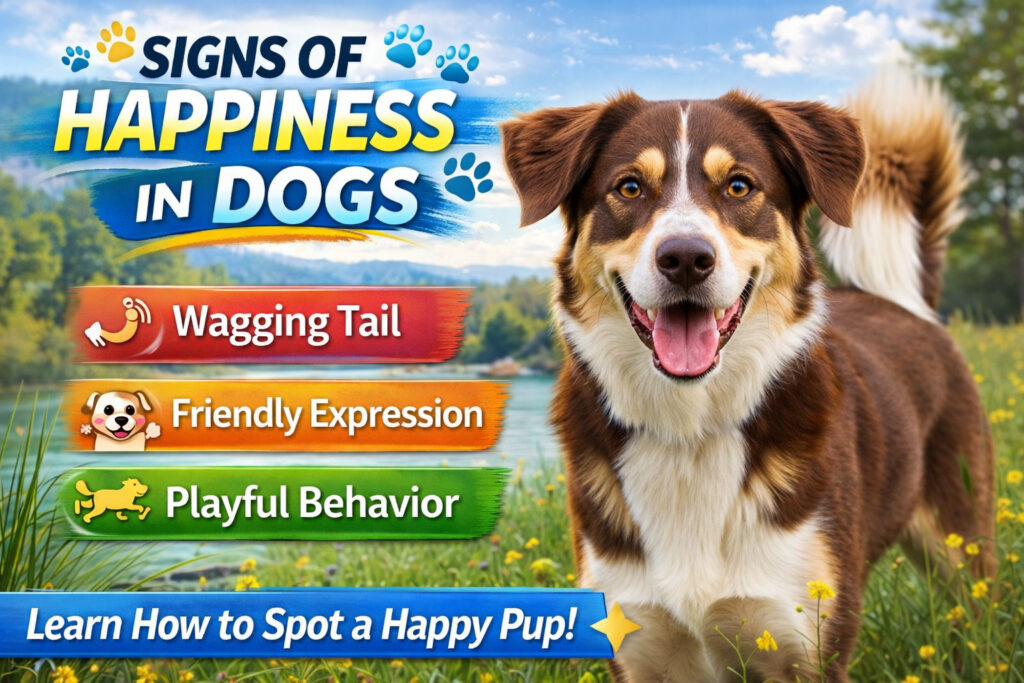
A wagging tail is one of the most recognizable signs of a happy dog—but context matters.
A loose, relaxed tail wag accompanied by a relaxed body often indicates that your dog is comfortable and happy. You may even see their entire back end wiggling with excitement when they greet you!
However, not every tail wag means happiness. A stiff, rapid, or high-held tail can indicate excitement, anxiety, alertness, or overstimulation.
Look at your dog’s whole body, rather than relying on their tail alone.
A happy dog typically looks comfortable in their body.
You may notice your dog standing, sitting, or lying down with relaxed muscles and an easy posture. Their weight may be evenly distributed, and they won’t appear tense or stiff.
A dog who is comfortable enough to stretch out, roll onto their side, or take a deep, relaxing nap is often showing that they feel safe in their environment.
Your dog’s eyes can tell you a lot about how they’re feeling.
Happy and relaxed dogs often have bright, alert eyes with a soft gaze. Their eyelids may appear slightly relaxed rather than wide and tense.
When your dog looks at you with soft, relaxed eyes, especially while their body is loose and their tail is gently wagging, it can be a wonderful sign that they feel comfortable and connected to you.
Playfulness is one of the easiest signs of a happy dog to recognize.
A happy dog may:
The classic play bow, where your dog’s front legs stretch forward while their rear end stays up, is a common invitation to play.
When your dog wants to interact and have fun, they’re often showing that they feel good and secure.
Your dog’s ears can provide another clue about their emotional state.
When a dog is happy and comfortable, their ears are generally relaxed and positioned naturally for their breed. They may be slightly forward when they’re interested in something.
It’s important to remember that ear position varies significantly between breeds. A German Shepherd and a Basset Hound won’t necessarily display happiness with their ears in the same way.
That’s why it’s best to consider ear position alongside the rest of your dog’s body language.
When your dog rolls onto their back and exposes their belly, it can be a sign that they feel comfortable and trust you.
Some dogs love having their belly rubbed, while others simply enjoy lying on their backs because it feels comfortable.
However, don’t automatically assume every belly-up position means, “Rub my belly!” A dog may also roll over as a submissive or appeasing behavior.
Look for other signs of relaxation, such as a loose body, soft eyes, and a relaxed mouth.
Dogs have plenty of ways to “talk” without barking.
Some dogs make adorable little grunts, sighs, groans, or soft vocalizations when they’re comfortable and content. You may hear a big sigh when your dog settles down beside you after a long day.
Of course, vocalizations can mean different things depending on the situation, so consider what else your dog is doing at the same time.
A dog who is excited about mealtime may show their happiness through their appetite.
Running to their food bowl, eagerly waiting for dinner, or happily accepting treats can all be normal signs of enthusiasm.
However, appetite alone isn’t a reliable measure of happiness. Changes in eating habits can sometimes indicate stress, illness, pain, or other health concerns.
If your dog’s appetite suddenly changes, especially when accompanied by other behavioral changes, it’s a good idea to consult your veterinarian.
Does your dog follow you from room to room?
For many dogs, this is simply their way of staying close to the person they love.
A happy, bonded dog may want to be wherever you are—whether you’re cooking dinner, watching television, working around the house, or simply relaxing.
Some dogs are naturally more independent, while others are your constant four-legged shadow. Both can be perfectly normal.
A happy dog’s mouth often looks soft and relaxed.
You may see their mouth slightly open with their tongue resting naturally. Their facial muscles will generally appear loose rather than tight or tense.
A relaxed mouth combined with soft eyes, a loose body, and a gently wagging tail can be a strong indication that your dog is comfortable and content.
A dog’s emotional well-being is closely connected to their physical comfort.
Dogs who are experiencing pain or mobility problems may become less playful, reluctant to exercise, or less interested in activities they normally enjoy. Knee and joint problems, including cranial cruciate ligament (CCL) injuries, can affect how comfortable a dog feels during everyday activities.
That’s why paying attention to changes in your dog’s movement and behavior is so important.
A dog who is comfortable, supported, and able to participate in the activities they enjoy is more likely to stay active and engaged with their family.
Whether it’s a favorite toy, a walk around the neighborhood, a game of fetch, a belly rub, or simply curling up beside you on the couch, happiness for dogs often comes down to feeling safe, loved, comfortable, and connected.
Your dog may not be able to say, “I’m happy,” but they’re probably telling you in a dozen different ways every day.
All you have to do is learn how to listen.
Because a happy dog isn’t just a wagging tail—it’s a relaxed body, bright eyes, playful spirit, and the unmistakable joy of being with the people they love.
If your dog is dealing with a knee injury, mobility challenges, or you simply want to learn more about how a Posh Dog Knee Brace may help support your dog’s active lifestyle, we’re here to help! Our team is happy to answer your questions and help you determine whether a Posh brace may be a good option for your dog. Contact us through our Contact page to speak with our team, or follow along on Facebook for helpful tips, educational information, customer stories, and updates from Posh Dog Knee Brace. We’re here to help you keep your best friend comfortable, supported, and enjoying life on all four paws!
Articles from the Posh Dog Knee Brace team — a group effort with our licensed veterinary technicians and brace specialists, sharing 15+ years of experience helping dogs recover from CCL/ACL injuries and mobility challenges.
For many dog owners, watching their furry friends romp and play is pure joy. The wagging tails, playful bows, and exuberant chases seem to speak volumes about happiness and healthy socialization. But beneath the surface of what looks like “fun,” subtle (and sometimes not-so-subtle) stress signals can often go unnoticed.
Just like humans, dogs communicate constantly through their body language. Understanding these unspoken cues is not just a fascinating skill; it’s a crucial responsibility for every dog owner. It allows us to advocate for our dogs, intervene before play escalates into conflict, and prevent potential accidents or injuries. This is especially vital in environments like dog parks, playdates, or even multi-dog households where interactions can quickly become overwhelming.
This guide will dive deep into canine body language, helping you decode common stress signals your dog might be displaying during playtime, ensuring safer and happier interactions for everyone involved.
Misinterpreting canine body language can lead to:
Your dog is always telling you how they feel; you just need to learn how to listen with your eyes.
Dogs use their entire body to communicate: their eyes, ears, mouth, tail, posture, and even the direction of their gaze. It’s a complex tapestry of signals, often read in combination.
Before diving into stress, let’s briefly touch on what relaxed, happy play typically looks like:
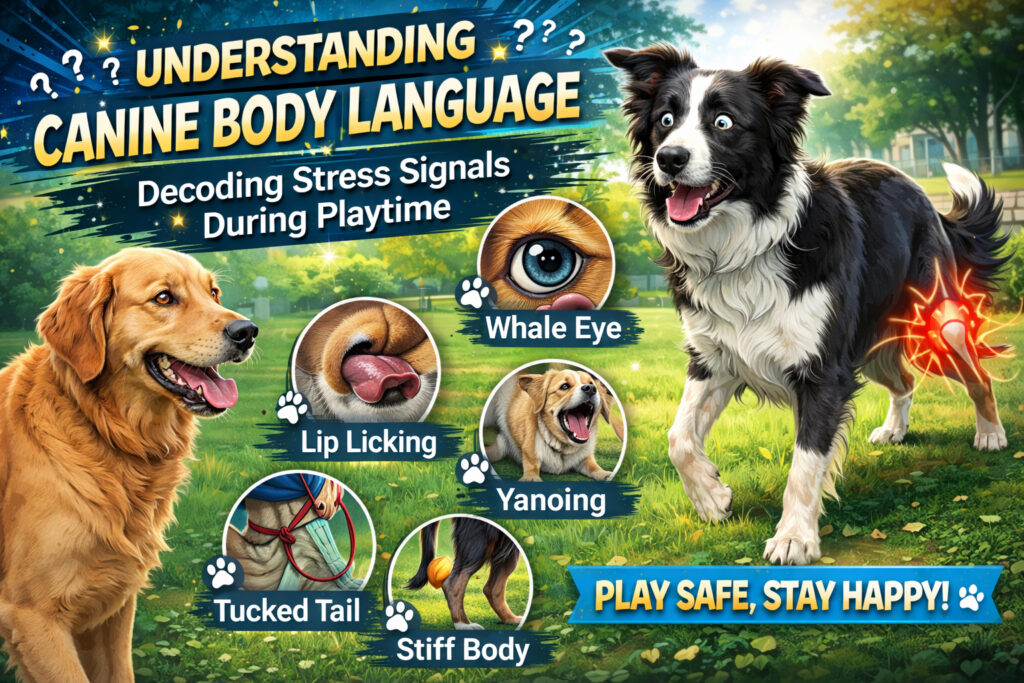
Now, let’s look at the signals that indicate your dog might be uncomfortable, stressed, or nearing their limit. These are often called “calming signals” or “stress signals” and are attempts to de-escalate a situation or communicate discomfort.
1. Whale Eye (Half Moon Eye) 😳
2. Lip Licking & Yawning 👅
3. Freezing / Stiff Body Posture 🥶
4. Tucked Tail 🤫
5. Head Aversion / Turning Away ↩️
6. Piloerection (Raised Hackles) ⚡
7. Excessive Panting (When Not Overheated) 🥵
Learning these signals is only half the battle. The other half is knowing when and how to intervene.
By becoming fluent in canine body language, you empower yourself to be your dog’s best advocate, transforming potentially risky playtime into genuinely positive and safe social interactions. This skill not only prevents injuries but also builds a deeper bond of trust and understanding between you and your cherished companion.
If you are inteterested in a Posh Dog Knee Brace you can contact us via our contact form or check us out on Facebook.
Articles from the Posh Dog Knee Brace team — a group effort with our licensed veterinary technicians and brace specialists, sharing 15+ years of experience helping dogs recover from CCL/ACL injuries and mobility challenges.
If your dog has suffered a torn ACL (more accurately called a CCL — cranial cruciate ligament), you already know how heartbreaking it is to watch them limp, struggle to stand, or hesitate before jumping onto the couch. But what many pet parents don’t realize is this:
The first ACL tear dramatically increases the risk of a second tear in the opposite leg.
In fact, studies estimate that 40–60% of dogs who tear one CCL will tear the other within 1–2 years. Why does this happen? The answer lies in how dogs instinctively protect an injured leg — and how that compensation creates dangerous strain elsewhere.
Let’s break down what’s happening inside your dog’s body and what you can do to reduce the risk of an injured leg.

In dogs, the ACL is technically called the cranial cruciate ligament (CCL). It sits inside the stifle joint (the canine version of the knee) and helps:
When this ligament partially or fully tears, the joint becomes unstable. That instability causes inflammation, pain, and progressive arthritis if not managed properly.
Dogs are masters of adaptation. Unlike humans, they don’t understand “rest this leg for 6 weeks.” Instead, they shift their weight automatically to avoid discomfort.
This protective response is called compensatory weight shifting.
When one hind leg hurts, your dog will:
At first glance, this seems smart — and it is. In the short term, compensation reduces pain.
But in the long term, it creates a biomechanical imbalance.
Here’s where the risk begins.
1. Increased Load on the Opposite Leg (Injured Leg)
When your dog shifts weight away from the injured leg, the opposite hind leg absorbs significantly more force than it was designed to handle.
Think of it like driving a car with one worn tire — the other tire now bears more stress.
Over time:
If the second ligament was already slightly weakened (which is common), the added strain may push it past its breaking point.
2. Underlying Degeneration Is Often Bilateral
Many CCL tears are not caused by sudden trauma. They’re caused by degenerative ligament disease, which often affects both knees.
That means when one ligament tears, the other is usually already compromised — just not yet ruptured.
Compensation simply speeds up what was already developing.
3. Muscle Imbalance Worsens Instability
When a dog protects one injured leg:
Strong muscles help stabilize the knee. When muscle balance disappears, joint stability decreases — increasing strain on both ligaments.
4. Altered Gait Mechanics Increase Shear Forces
The CCL’s main job is preventing the tibia from sliding forward during weight bearing.
When a dog shifts weight unevenly:
It only takes one awkward movement — jumping off the couch, slipping on tile, or turning sharply — for the second ligament to tear.
While every dog is different, research suggests:
Breeds commonly affected include:
But any dog can develop bilateral CCL disease.
Because dogs are good at hiding pain, the second tear often seems “sudden.” In reality, warning signs may have been present.
Watch for:
If your dog had one ACL tear and you notice these signs, don’t ignore them. Early support can make a difference.
After the first ACL tear — whether surgically repaired or managed conservatively — many owners focus solely on healing that leg.
But if nothing is done to:
…the second ligament remains vulnerable. Protection must be proactive, not reactive.
1. Weight Management Is Critical
Even a few extra pounds dramatically increase joint pressure.
Studies show that overweight dogs are far more likely to experience bilateral CCL tears. Maintaining lean body condition reduces mechanical strain on both knees.
2. Improve Traction at Home
Slipping is a major risk factor.
Consider:
Every slip places shear force on the ligament.
3. Controlled Activity — Not Total Inactivity
Too much activity is risky.
Too little activity leads to muscle loss.
Instead:
Balanced muscle support protects the joint.
4. Provide Strategic Joint Support
Supporting the injured leg is important — but so is protecting the opposite leg.
External stabilization can:
Providing structured support during recovery may reduce stress placed on the “good” leg.
Whether a dog undergoes TPLO, TTA, lateral suture surgery, or conservative care, the second knee remains at risk.
Surgery stabilizes the repaired knee — but it does not eliminate:
This is why many veterinarians counsel owners about the high likelihood of the opposite knee eventually tearing.
The key takeaway?
Rehabilitation and joint protection matter regardless of treatment path.
For many families, the second tear feels worse than the first.
You’ve already:
Hearing that the other knee is now torn can feel overwhelming. But understanding why it happens removes some of the mystery — and empowers you to take preventative action early.
It’s helpful to reframe ACL tears not as a one-time injury, but as part of a broader degenerative condition affecting both knees.
That means:
Prevention isn’t about stopping your dog from living.
It’s about helping them move safely and confidently.
If your dog has already torn one ACL:
If your dog hasn’t torn a ligament but is in a high-risk breed or showing early stiffness, proactive support is even more powerful.
Dogs protect an injured leg because they’re smart and adaptive. But that same protective instinct can overload the opposite knee and accelerate a second ACL tear.
Understanding the biomechanics behind compensation gives you an advantage.
The goal isn’t to eliminate risk completely — that’s rarely possible.
The goal is to:
With the right awareness and proactive care, you can significantly lower the chances that one ACL tear turns into two.
And that means fewer surgeries, less pain, and more confident movement for your dog — for years to come.
If you’re interested in learning more about a Posh Dog Knee Brace and how it may help support your dog’s knee during recovery, or injured leg please visit our contact form to get in touch with us. You can also follow us and connect with us on Facebook for helpful tips, updates, and information about canine knee health. We’re here to help you and your dog every step of the way!
Articles from the Posh Dog Knee Brace team — a group effort with our licensed veterinary technicians and brace specialists, sharing 15+ years of experience helping dogs recover from CCL/ACL injuries and mobility challenges.
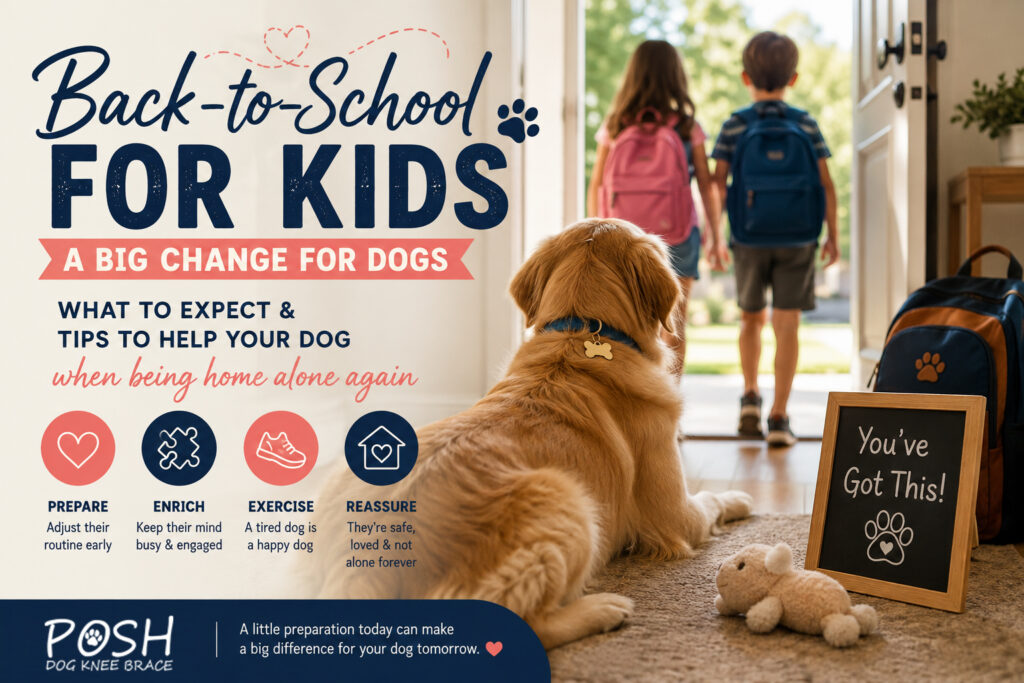
As summer comes to an end, families begin preparing for a new school year. While parents are busy buying school supplies and getting back into a routine, there’s one family member who often gets overlooked—your dog.
For many dogs, summer is the happiest time of the year. The kids are home, there’s constant activity, more walks, backyard playtime, and plenty of attention. Then suddenly, the house becomes quiet. The kids head back to school, parents return to work, and your dog may find themselves spending several hours alone for the first time in months.
This sudden change in routine can be confusing and stressful for many dogs. Fortunately, with a little preparation, you can help your furry family member transition smoothly into the school-year schedule.
Dogs thrive on routine. During summer break, they become accustomed to:
When those daily interactions suddenly disappear, some dogs may experience:
Not every dog will struggle, but even confident dogs notice when their favorite people are suddenly gone for several hours each day.
Rather than waiting until the first day of school, begin easing your dog into the new routine about one to two weeks beforehand.
Practice leaving the house for gradually longer periods. This helps your dog understand that being alone is temporary and that you’ll always return.
You can also begin waking up earlier, feeding meals at school-year times, and taking walks according to the upcoming schedule.
Small changes made ahead of time often prevent major stress later.
Many owners accidentally increase anxiety by making a big event out of leaving.
Instead of emotional goodbyes:
The goal is to make departures feel completely normal.
Mental stimulation can prevent boredom while your dog is home alone.
Great enrichment ideas include:
Keeping your dog’s brain active can help reduce stress and destructive behavior.
A tired dog is generally a calmer dog.
Before school or work:
Even 20 to 30 minutes of activity can help your dog relax during the day.
Some dogs feel more comfortable with familiar sounds.
Consider leaving:
This can help mask outdoor noises and make the home feel less empty.
Some dogs develop true separation anxiety rather than simply missing their family.
Signs may include:
If these behaviors become severe, consult your veterinarian or a certified dog behavior professional as early intervention often leads to better outcomes.
If your dog is healing from a torn ACL (CCL), TPLO surgery, arthritis, or another orthopedic condition, the return to school can present additional challenges.
Without family members around to monitor activity, some dogs may become overly excited when everyone returns home, increasing the risk of re-injury.
Maintain any rehabilitation plan recommended by your veterinarian, continue prescribed exercise restrictions, and consider supportive mobility devices if appropriate. Dogs using a custom knee brace should continue wearing it according to their veterinarian’s or rehabilitation specialist’s recommendations to help support healing and stability during activity.
When the kids return from school, spend a few minutes reconnecting with your dog.
Try:
This helps reinforce that good things happen when everyone comes home.
Just like children need time to settle into a new school routine, dogs need time to adapt to changes in their daily lives.
With patience, consistency, and a little planning, most dogs adjust within a few weeks and become comfortable with the quieter daytime schedule again.
Your dog’s happiness depends on more than just exercise—it depends on routine, enrichment, and knowing their family always comes back home.
As you prepare backpacks, lunches, and school schedules, don’t forget to prepare your four-legged family member, too. A little extra attention now can make the back-to-school season easier for everyone—especially your loyal best friend.
As your family settles into a new back-to-school routine, don’t forget to make sure your dog has the support they need, too—especially if they’re recovering from a CCL injury, arthritis, or another mobility issue. A custom Posh Dog Knee Brace can help provide stability and confidence so your dog can continue enjoying daily walks, playtime, and life with your family. If you’d like to learn more about whether a custom brace is right for your dog, visit our Contact Us page or connect with us on Facebook. Our team is always happy to answer your questions and help you find the best solution for your four-legged family member.
Articles from the Posh Dog Knee Brace team — a group effort with our licensed veterinary technicians and brace specialists, sharing 15+ years of experience helping dogs recover from CCL/ACL injuries and mobility challenges.
Summer is one of the best seasons to spend quality time outdoors with your dog. Longer days, sunny weather, and more opportunities for adventure make it tempting to head outside whenever you have free time. However, when temperatures rise, choosing the right time of day for a walk becomes more than just a matter of convenience—it becomes a matter of your dog’s health and safety.
Whether your dog is a playful puppy, an energetic adult, a senior companion, or recovering from an ACL injury or arthritis, understanding the difference between morning and afternoon walks can help prevent overheating, protect sensitive paw pads, and reduce stress on their joints.
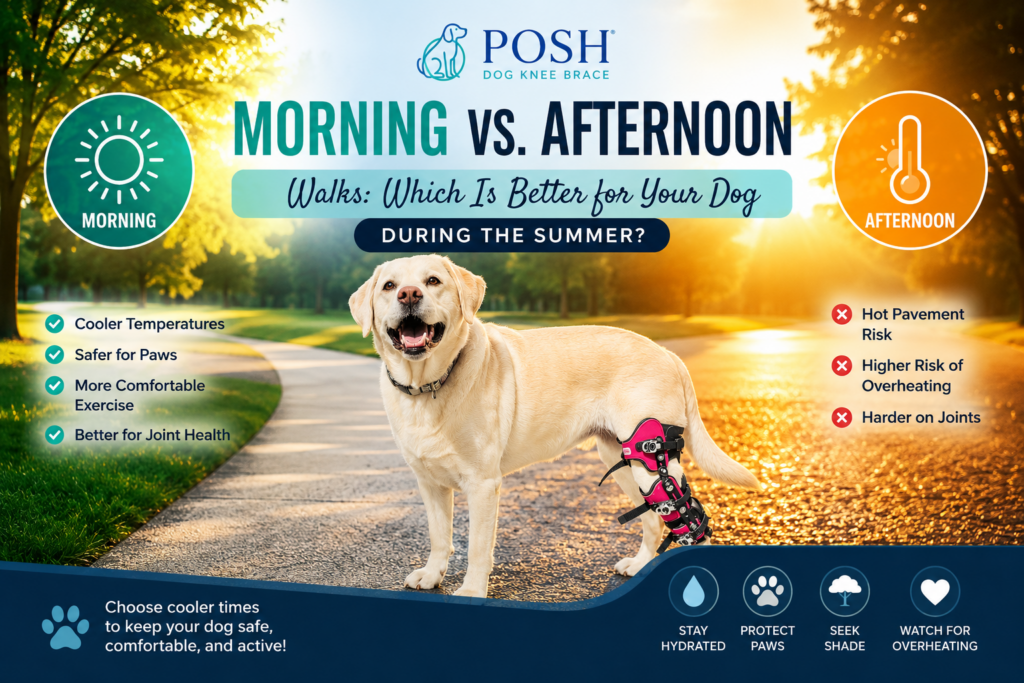
Dogs don’t regulate body temperature the same way humans do. While people cool themselves by sweating, dogs primarily rely on panting and releasing small amounts of heat through their paw pads. When outdoor temperatures climb, especially with high humidity, it becomes much harder for dogs to cool themselves effectively.
What many pet owners don’t realize is that the air temperature isn’t the only concern. Asphalt, concrete, and sidewalks absorb heat throughout the day and can become much hotter than the surrounding air. Even when the weather feels comfortable to you, the ground beneath your dog’s paws may be hot enough to cause burns or discomfort.
Choosing the right time to walk can significantly reduce these risks.
For most dogs, early morning is the safest and healthiest time to exercise during the summer months.
Cooler Temperatures
Temperatures are generally at their lowest shortly after sunrise. Cooler air makes it easier for your dog to breathe comfortably and regulate their body temperature while exercising.
This is especially beneficial for:
Cooler Walking Surfaces
Sidewalks and pavement haven’t yet absorbed hours of sunlight, making them much safer for sensitive paw pads. Cooler surfaces also reduce stress on joints, especially for dogs with arthritis or knee injuries.
More Comfortable Exercise
Dogs tend to have more energy in cooler weather. Morning walks often allow for longer distances and more enjoyable sniffing adventures without the fatigue caused by excessive heat.
Better Mental Stimulation
Starting the day with a walk provides both physical exercise and mental enrichment. Exploring new scents, hearing birds, and interacting with their environment helps reduce boredom and can improve behavior throughout the day.
Afternoons are often the hottest part of the day, making them the least desirable time for outdoor exercise during the summer.
Increased Risk of Heat Exhaustion
As temperatures rise, dogs can quickly overheat. Signs of heat exhaustion include:
If your dog begins showing any of these symptoms, move them immediately to a cool area, offer fresh water, and contact your veterinarian right away.
Hot Pavement Can Burn Paw Pads
Many pet owners underestimate just how hot pavement becomes.
When the air temperature reaches approximately 85°F (29°C), asphalt may exceed 130°F (54°C). At these temperatures, paw pad burns can occur within seconds.
A simple way to test the pavement is the “seven-second test.” Place the back of your hand on the pavement for seven seconds. If it’s too hot for your hand, it’s too hot for your dog’s paws.
Increased Joint Fatigue
Dogs recovering from orthopedic injuries, including ACL or CCL tears, may tire more quickly in hot weather. Heat increases overall fatigue, which can affect coordination and muscle support around injured joints.
Fatigued muscles provide less stability, increasing the risk of slips, awkward movements, or further injury.
Sometimes work schedules or family commitments make afternoon walks necessary. If you must walk your dog during warmer hours, taking a few precautions can make the outing much safer.
Choose shaded routes whenever possible. Parks with tree cover or grassy trails remain cooler than sidewalks or parking lots.
Keep walks shorter than usual. Instead of one long walk, consider several brief potty breaks and save longer exercise sessions for early morning or later in the evening.
Always carry fresh water and offer frequent drinking breaks.
Walk on grass whenever possible instead of asphalt or concrete.
Watch your dog’s body language carefully. Slowing down, excessive panting, seeking shade, or refusing to continue walking are all signs it’s time to head home.
If mornings aren’t possible, evening walks after the sun has begun to set can be another excellent choice.
Before heading out, remember that pavement may still hold heat from the day. Perform the seven-second pavement test before allowing your dog to walk on sidewalks.
Evening walks also provide a relaxing opportunity for dogs to unwind before bedtime and can help reduce excess energy.
Dogs recovering from ACL surgery, wearing a custom knee brace, managing arthritis, or dealing with other mobility conditions require extra attention during the summer.
Heat places additional stress on the cardiovascular system and muscles. As muscles become fatigued, they provide less support for injured joints.
For dogs with knee injuries or arthritis:
Many dogs recovering from orthopedic injuries benefit from maintaining gentle daily activity while avoiding excessive heat that could delay recovery.
Hydration is just as important as timing.
Before every walk:
You can also help your dog stay cool by providing frozen treats, cooling mats, shaded rest areas, or even a quick rinse with cool (not ice-cold) water after outdoor activity.
When it comes to summer walks, timing truly makes a difference.
Morning walks generally provide the coolest temperatures, safer walking surfaces, and the most comfortable conditions for dogs of all ages. Evening walks are another excellent alternative once the day’s heat begins to fade.
Afternoon walks aren’t always avoidable, but they require extra caution, shorter durations, and close attention to your dog’s comfort and safety.
By adjusting your walking routine during the warmer months, you can help prevent heat-related illnesses, protect your dog’s paws, reduce stress on their joints, and ensure they continue enjoying the outdoors all summer long.
A little planning goes a long way toward keeping every walk a safe, healthy, and enjoyable adventure—no matter the season.
If you are interested in a Posh Dog Knee Brace you can contact us via or contact form or check us out on Facebook.
Articles from the Posh Dog Knee Brace team — a group effort with our licensed veterinary technicians and brace specialists, sharing 15+ years of experience helping dogs recover from CCL/ACL injuries and mobility challenges.
As dog parents, we pour so much love into our pups. From picking the best kibble to scheduling those regular vet check-ups, we’re always looking for ways to keep them happy and healthy. But there’s one part of the fitness routine that often gets skipped—especially before a big adventure: the warm-up.
Think about it: if you were going to run a marathon or hit the gym for a heavy lifting session, you wouldn’t jump straight off the couch and start sprinting, right? You’d stretch and get your blood moving first. Yet, we often do exactly that to our dogs, taking them from a deep snooze to an intense game of fetch or a high-energy hike in seconds flat.
It’s a simple oversight, but it can lead to strains, sprains, or even bigger orthopedic issues down the road. Let’s change that! Here is your guide to keeping your dog limber, happy, and ready for action.
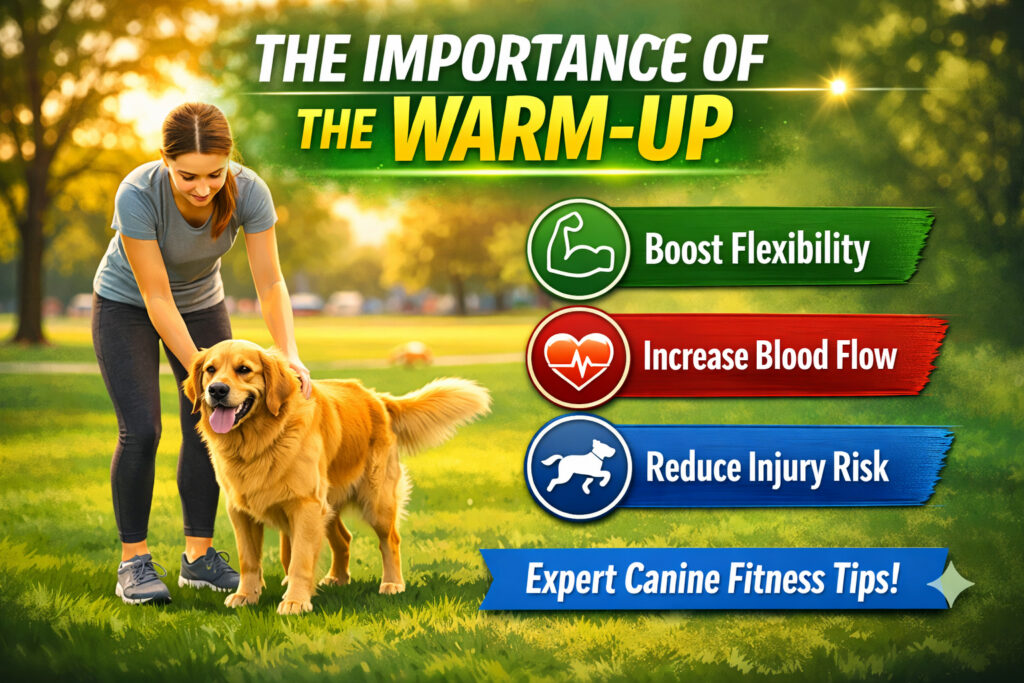
A warm-up isn’t just “extra” work—it’s a simple preventative measure that sets your dog up for success. Here’s why it matters:
You don’t need to be an expert to do this. A good warm-up lasts about 5–10 minutes and has two easy steps: Dynamic Movement and Gentle Stretching.
Pro tip: Only do these once your dog is moving. Never force a stretch—if your dog seems uncomfortable, skip it!
It only takes 5-10 minutes, but it makes a lifetime of difference. By adding a little warm-up to your routine, you’re protecting your dog’s joint health and ensuring they stay your active, adventurous partner for as many years as possible.
If you are interested in a Posh Dog Knee Brace you can contact us via our contact form or check out our Facebook page.
Articles from the Posh Dog Knee Brace team — a group effort with our licensed veterinary technicians and brace specialists, sharing 15+ years of experience helping dogs recover from CCL/ACL injuries and mobility challenges.
Summer is synonymous with sun-soaked adventures, and for many dog owners, that means heading straight to the coast. But when your dog is recovering from a knee injury—such as a CCL tear or recent orthopedic surgery—the beach can transform from a paradise into a minefield of unstable terrain and overheating risks.
Does this mean you have to skip the beach entirely? Not necessarily. With the right strategy, you can still enjoy a refreshing coastal getaway without compromising your dog’s recovery. The key is shifting your mindset from a high-energy “adventure day” to a structured, “low-impact” beach experience.
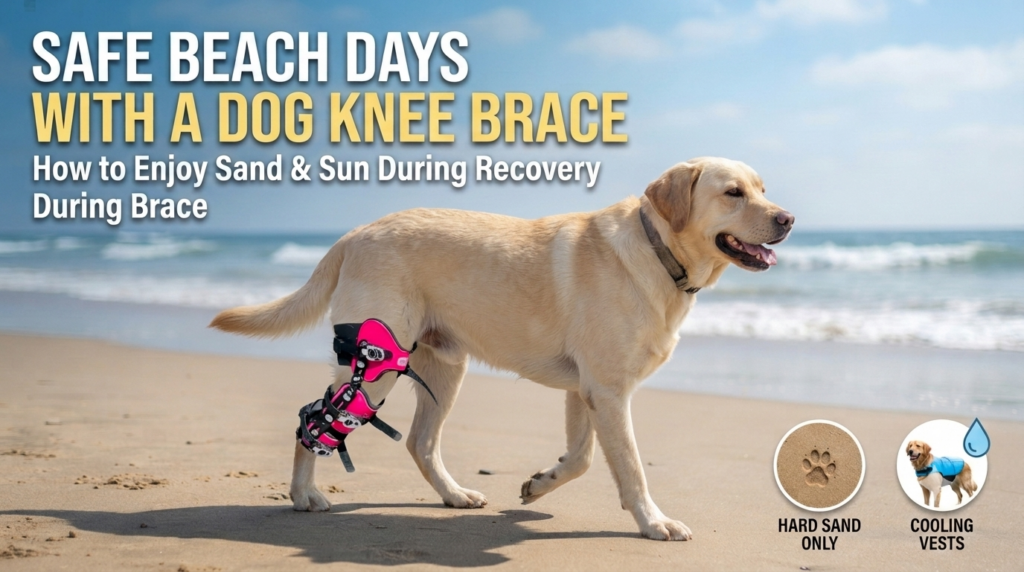
The biggest hidden danger for a dog with a knee brace isn’t the water or the heat—it’s the sand itself.
Before you even leave the car, take a moment to scout the entry point. If the path to the water requires navigating deep dunes, you may need to carry your dog or use a supportive harness with a handle to assist them over the uneven terrain.
When a dog wears a knee brace, they are already dealing with an added layer of neoprene or fabric covering a significant portion of their leg. Add the summer sun and the radiant heat reflecting off the sand, and your dog is at a much higher risk of overheating.
Panting is your dog’s primary way of cooling down, but it isn’t always enough in extreme humidity or direct sunlight. This is where a dog cooling vest becomes an essential piece of medical gear rather than just an accessory.
Cooling vests work through evaporative cooling. When you soak the vest in cool water and wring it out, the specialized fabric holds onto the moisture. As the water evaporates, it draws heat away from your dog’s body, keeping their core temperature stable.
A successful beach day with a recovering pup is all about short bursts of activity followed by long periods of rest.
By choosing firm ground, prioritizing shade, and utilizing cooling technology, you can navigate the summer safely. Remember, the goal of this outing is bonding and relaxation, not rigorous exercise. Keep it slow, keep it cool, and your dog will thank you for it.
If you are interested in a Posh Dog Knee Brace to help your canine companion recover safely and comfortably, we are here to support you. You can reach out to our team directly through our website’s contact form, or connect with us on Facebook for more tips, updates, and community support.
Articles from the Posh Dog Knee Brace team — a group effort with our licensed veterinary technicians and brace specialists, sharing 15+ years of experience helping dogs recover from CCL/ACL injuries and mobility challenges.
When your dog is recovering from an ACL injury (also known as a CCL tear), even simple, everyday tasks can suddenly feel overwhelming. One of the most common challenges pet parents face is helping their dog get in and out of the car safely.
Whether you’re heading to a vet follow-up, physical therapy appointment, or just taking a short ride, improper movement during car entry or exit can delay healing—or worse, cause re-injury. The good news? With the right approach and a little preparation, you can protect your dog’s knee and make car rides safe again.
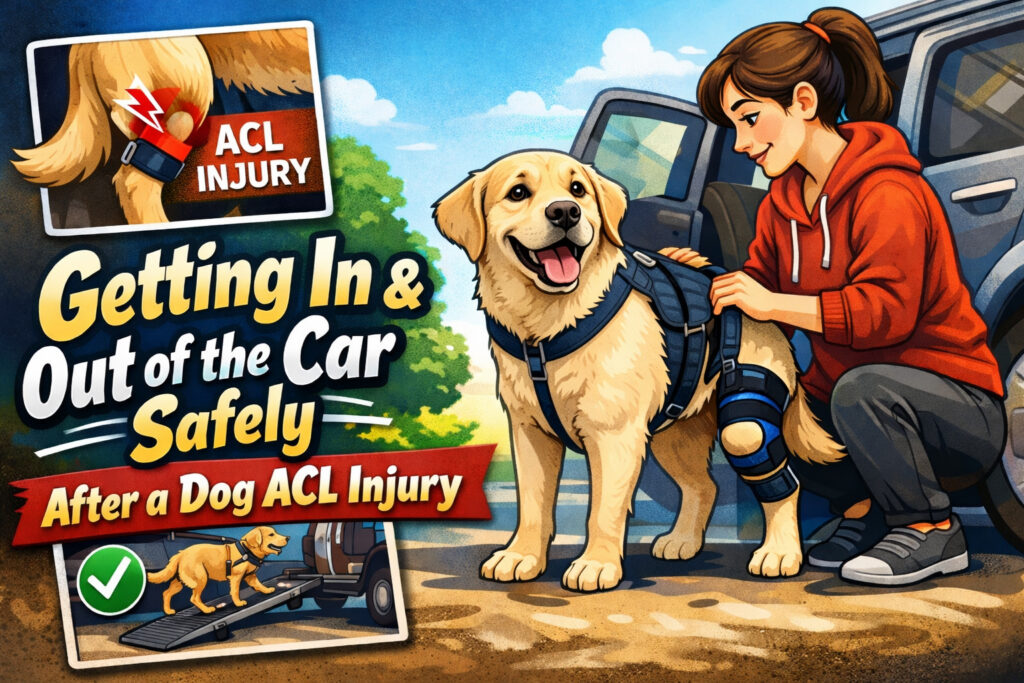
The canine ACL is properly called the cranial cruciate ligament (CCL). It plays a critical role in stabilizing your dog’s knee joint. When it tears—partially or completely—it causes pain, instability, and inflammation.
In many cases, dogs undergo surgical repair such as:
Others may follow a conservative management plan depending on size, severity, and veterinarian recommendations.
Regardless of the treatment route, one rule remains the same: controlled, supported movement is critical during recovery. Jumping in and out of a vehicle is one of the riskiest uncontrolled movements a healing dog can make.
Before injury, most dogs launch themselves into vehicles without hesitation. After a CCL tear, that same motion creates:
Even after surgery, the internal structures are still healing for weeks. The bone needs time to fuse (in surgical cases), and surrounding muscles must rebuild strength.
One bad jump can:
That’s why controlled entry and exit isn’t optional—it’s essential.
The golden rule: No jumping. At all.
This applies to:
Even if your dog looks better, ligament healing and bone remodeling take time. Always follow your veterinarian’s timeline before allowing independent movement.
A ramp is one of the safest and most effective tools during ACL recovery.
Why ramps are ideal:
What to look for:
Take time to train your dog to use the ramp slowly. Use treats, calm praise, and a leash for stability.
Pro tip: Always support with a harness while your dog walks up or down, especially during the first few weeks.
A rear-support harness (sometimes called a recovery sling) allows you to assist your dog’s back end as they move.
This is especially helpful for:
The harness allows you to:
Never lift by the collar or under the abdomen alone—this can create additional stress or discomfort.
Once inside, your dog’s safety isn’t finished.
Car interiors can be slippery. Leather seats, plastic cargo areas, and loose blankets can all cause sliding, which twists the healing knee.
Safer setup:
For smaller dogs, a secure travel crate may offer the most stability during healing.
Most dogs are more excited getting out of the car than getting in. That burst of energy can cause sudden jumping.
Before opening the door:
Never open the hatch and allow your dog to bolt. Descending creates even more strain than going up, because gravity adds impact force to the knee joint.
Dogs recovering from ACL surgery fatigue faster than usual. Muscle atrophy happens quickly during restricted activity.
Signs your dog may need more support:
If you notice this, increase support during car transfers and shorten outings.
Studies show that many dogs who tear one CCL will eventually injure the other. Overcompensation plays a big role.
When helping your dog in and out of the car:
Your goal is symmetry and slow movement.
Preparation reduces stress—for both of you.
Before leaving:
If possible, avoid high-clearance vehicles during recovery. Even backing up to a curb to reduce height can help.
Even small dogs shouldn’t jump after an ACL injury. While it may look less dramatic, their knees experience the same biomechanical stress relative to their body size.
Use:
Never allow repetitive small jumps, such as hopping from seat to seat.
This depends on:
For surgical repairs like TPLO or TTA, many dogs require strict movement control for 8–12 weeks.
Some dogs—especially large breeds—benefit from using ramps permanently to reduce long-term joint stress.
Contact your veterinarian if you notice:
Early intervention prevents setbacks.
Car rides often mean something exciting—parks, family visits, adventures. After injury, your dog may associate car entry with discomfort.
Stay calm. Move slowly. Keep experiences positive but controlled.
Your energy influences theirs.
ACL recovery isn’t just about surgery or rest—it’s about the hundreds of small movements your dog makes every day.
Getting in and out of the car may seem minor, but it’s one of the highest-risk moments during healing. Eliminating jumping, adding support, and planning ahead dramatically reduce complications.
The goal isn’t just short-term healing.
It’s long-term joint health, confidence, and mobility.
With patience, preparation, and smart tools, you can safely navigate car rides and keep your dog on track toward a strong, stable recovery.
If you are interested in a posh dog knee brace you can contact us via our contact form or check out our facebook page.
Articles from the Posh Dog Knee Brace team — a group effort with our licensed veterinary technicians and brace specialists, sharing 15+ years of experience helping dogs recover from CCL/ACL injuries and mobility challenges.
As devoted dog parents, we constantly look for ways to keep our furry family members happy, healthy, and comfortable. Often, we focus on diet, exercise, and regular vet check-ups. But what about the repetitive strain of everyday movements that can silently damage their joints? We’re talking about stairs, jumping on and off furniture, and getting in and out of the car, ramps should be something to think about.
While these might seem like minor activities, the cumulative impact of repeated high-impact movements can significantly contribute to joint issues over time, particularly for breeds prone to hip and elbow dysplasia, patellar luxation, or those recovering from injuries like ACL tears.
Enter the humble yet mighty dog ramp. More than just a convenience, a dog ramp is a preventative and rehabilitative tool that can genuinely extend your dog’s comfort and mobility, protecting their precious knees and hips from unnecessary strain.
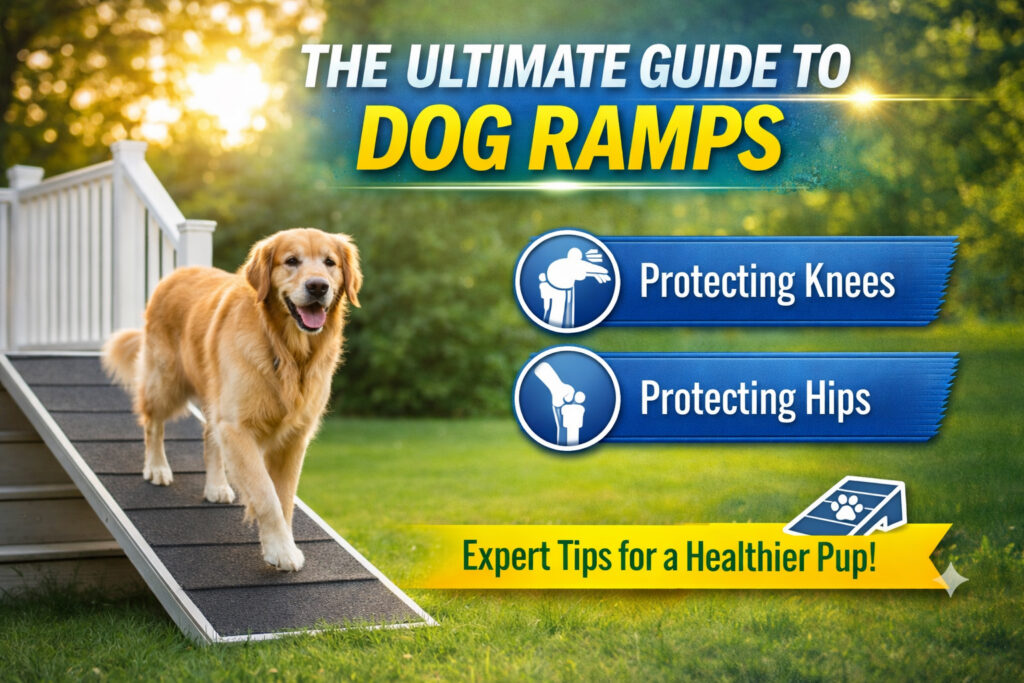
Think about the mechanics of a dog navigating stairs or leaping. Each jump or step involves:
For young, healthy dogs, their bodies are typically resilient enough to handle this. However, even in their prime, these actions create micro-traumas. As dogs age, or if they have pre-existing conditions, these activities become increasingly detrimental.
Breeds at Higher Risk:
Dog ramps offer a gradual incline, eliminating the harsh impact and twisting motions associated with jumping and stair climbing. This simple change provides a multitude of benefits:
Not all dog ramps are created equal. The “best” ramp depends on your dog’s size, your specific needs, and where it will be used.
Key Factors to Consider:
Types of Ramps for Different Needs:
Even the most perfect ramp is useless if your dog won’t use it! Here’s how to introduce it positively:
Investing in a high-quality dog ramp is an investment in your dog’s long-term health and happiness. By proactively protecting their joints from daily wear and tear, you can potentially:
Don’t wait until your dog is limping or showing signs of pain. Introduce ramps early as a preventative measure. Their knees and hips will thank you!
Ready to learn more about how to support your dog’s mobility? If you’re interested in a custom knee brace or need more personalized advice on choosing the right ramp, we’re here to help! Reach out to us via our contact form or send us a message on our Facebook page.
Articles from the Posh Dog Knee Brace team — a group effort with our licensed veterinary technicians and brace specialists, sharing 15+ years of experience helping dogs recover from CCL/ACL injuries and mobility challenges.
The open road, scenic views, and the wind in your hair (or fur!) – summer road trips are an iconic way to explore. And for many of us, the adventure isn’t complete without our best furry friend by our side. Traveling with your dog can be incredibly rewarding, creating unforgettable memories. However, a successful road trip with a canine companion requires more than just packing a leash.
From safety in the car to finding dog-friendly pit stops, here’s your guide to preparing for a smooth and enjoyable summer road trip with your dog.
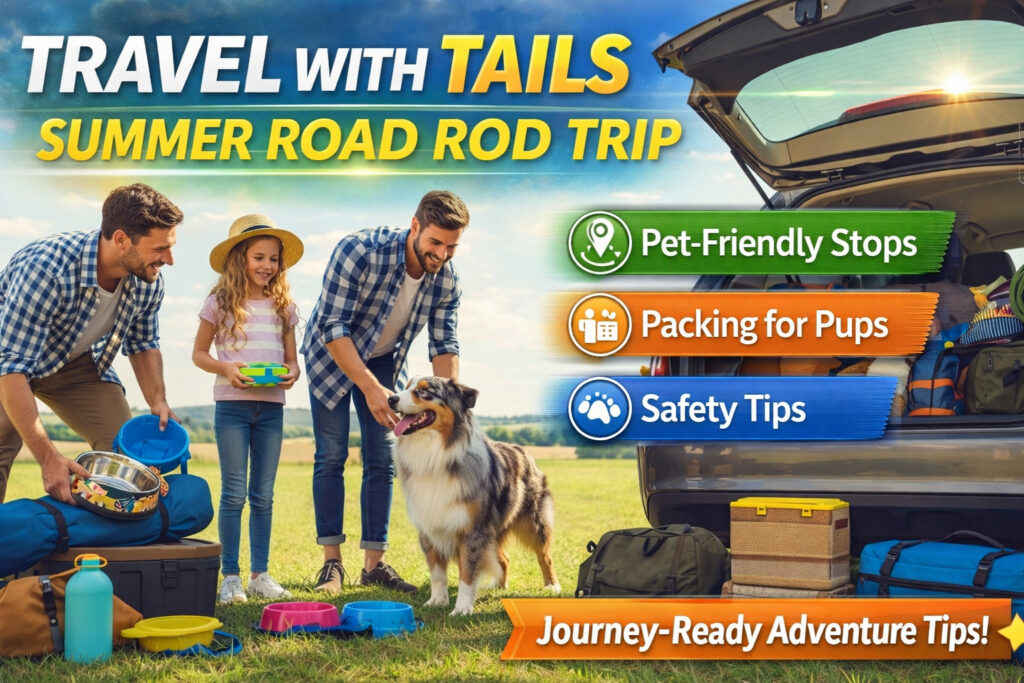
The most important aspect of road-tripping with your dog is their safety in the vehicle. An unrestrained dog can be a dangerous distraction for the driver and is vulnerable in the event of a sudden stop or accident.
Just like you have your carry-on, your dog needs their own dedicated travel kit.
Long stretches of driving are tough on everyone, especially dogs.
Nothing ruins a trip faster than arriving somewhere to find your dog isn’t welcome.
If your dog isn’t used to long car rides, start small.
This is non-negotiable. Even with windows cracked, a parked car can become dangerously hot within minutes, leading to heatstroke and death. If you can’t bring your dog into a store or restaurant, do not leave them in the car. Plan your stops accordingly.
With a little planning and preparation, hitting the road with your dog this summer can be a fun, safe, and truly unforgettable adventure for both of you. Happy travels! If you are interested in a Posh Dog Knee Brace to help keep your pup moving comfortably on all your adventures, please contact us via our contact form or visit us on Facebook. Happy travels!
Articles from the Posh Dog Knee Brace team — a group effort with our licensed veterinary technicians and brace specialists, sharing 15+ years of experience helping dogs recover from CCL/ACL injuries and mobility challenges.
Summer is synonymous with water fun, and for many dogs, a splash in the pool or a dip in the lake is the highlight of their day! While most dogs instinctively know how to doggy paddle, not all are natural swimmers, and even the strongest swimmers can face unexpected dangers in and around water.
As responsible pet parents, ensuring our furry friends are safe around water is paramount. Here’s a comprehensive guide to keeping your canine companion secure whether they’re by the pool or enjoying a lake adventure.
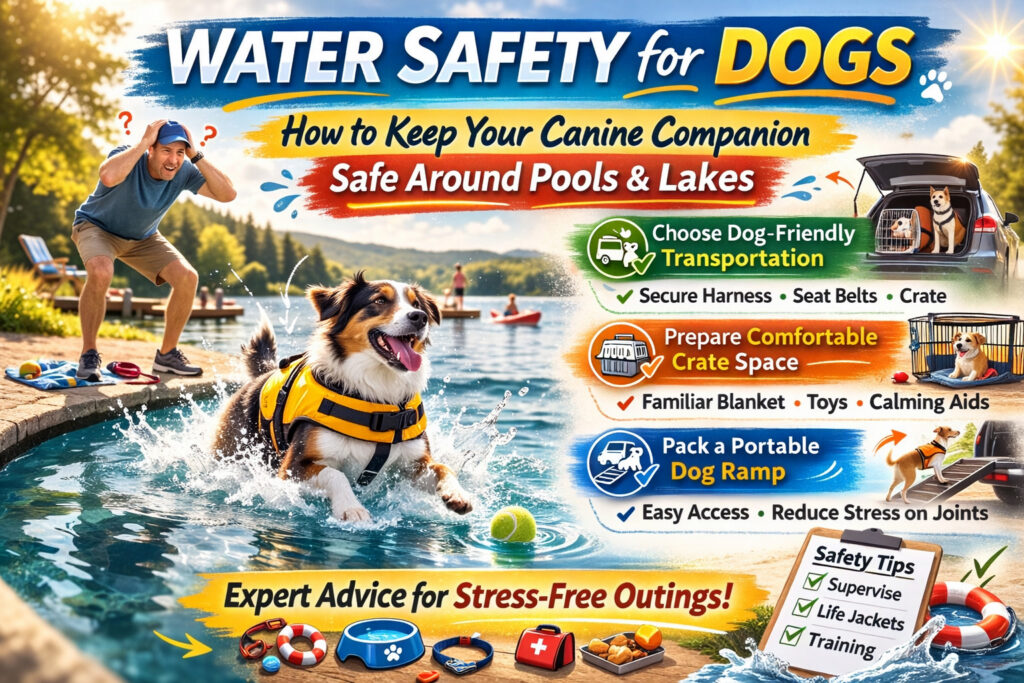
While the “doggy paddle” is famous for a reason, not all dogs are born swimmers. Some breeds, like Bulldogs, Pugs, and Basset Hounds, have dense bodies and short snouts that make swimming difficult and tiring. Even breeds known for swimming (like Retrievers) can struggle or panic in certain situations.
This is arguably the most crucial piece of safety equipment for any dog around water, regardless of their swimming ability.
If you have a backyard pool, specific precautions are essential.
Lakes, rivers, and ponds offer a different set of challenges.
After any water activity, proper post-swim care is vital to prevent skin and ear issues.
Even if your dog is swimming, they can still get dehydrated, and they may be tempted to drink pool or lake water.
By being prepared, vigilant, and understanding the specific risks associated with different water environments, you can ensure that your dog’s summer water adventures are safe, fun, and memorable for all the right reasons! Enjoy the splash!
If you are interested in a premium dog knee brace, you can find more information by completing our contact form or by visiting our Facebook page.
Articles from the Posh Dog Knee Brace team — a group effort with our licensed veterinary technicians and brace specialists, sharing 15+ years of experience helping dogs recover from CCL/ACL injuries and mobility challenges.
Most dog owners think about slippery floors — but few think about flooring transitions. The small lip between tile and hardwood. The metal strip in a doorway. The raised threshold leading to a patio.
To us, they’re barely noticeable. To your dog’s knees, they can be a daily stress test.
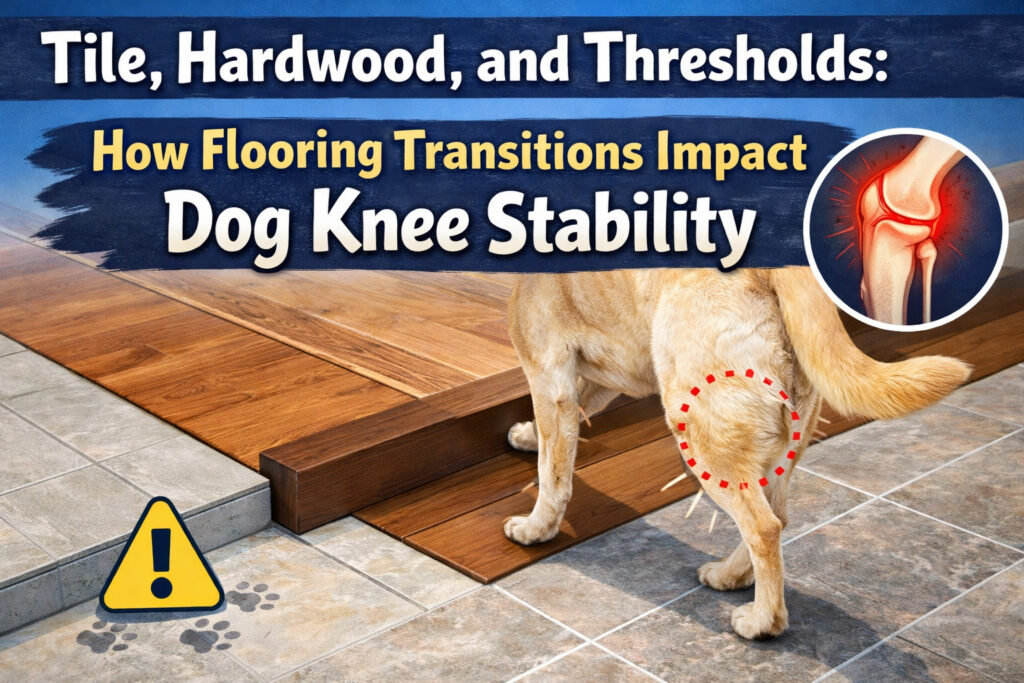
Dogs move fast. They don’t slow down to evaluate surface changes the way we do. When your dog runs from carpet to tile or hardwood to laminate, the sudden shift in traction can cause:
Over time, these repeated micro-adjustments can strain the CCL (ACL equivalent) — especially in active or larger dogs.
Raised door strips and uneven transitions are particularly risky because they:
For dogs healing from a previous CCL tear, these small obstacles can increase the chance of re-injury or strain on the opposite leg.
Take a walk through your house and look for these trouble spots:
You may notice your dog hesitates, shifts weight awkwardly, or slightly slides when crossing them.
You don’t need a renovation to protect your dog’s knees. Try:
Small adjustments can significantly reduce torque and instability in the knee joint.
Dog knee injuries are often the result of cumulative strain — not just dramatic accidents. Flooring transitions create subtle instability that can add up over time.
By identifying and correcting these hidden hazards, you’re not just improving traction — you’re protecting long-term joint health and giving your dog a safer environment to move confidently every day.
If you would like more information about our Posh Dog Knee Brace, please contact us through our contact form and be sure to visit us on Facebook to stay updated on tips, support, and new products for your dog’s joint health and recovery.
Articles from the Posh Dog Knee Brace team — a group effort with our licensed veterinary technicians and brace specialists, sharing 15+ years of experience helping dogs recover from CCL/ACL injuries and mobility challenges.